| [ Team LiB ] |
|
Recipe 1.2 Installing Apache on WindowsProblemYou want to install the Apache web server software on a Windows platform.
SolutionPrimarily, Windows is a graphically oriented environment, so the Apache install for Windows is correspondingly graphical in nature. The simplest way to install Apache is to download and execute the Microsoft Software Installer (MSI) package from the Apache web site at http://httpd.apache.org/download. The following screenshots come from an actual installation made using this method. Each step of the installation process is distinct in the process and you can revise earlier decisions, until the files are installed. The first screen (Figure 1-1) simply confirms what you're about to do and the version of the package you're installing. Figure 1-1. First screen of Apache MSI install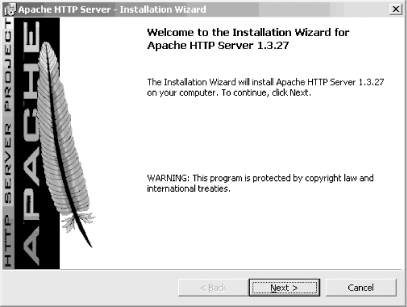 The second screen (Figure 1-2) presents the Apache license. Its basic tenets boil down to the following: do what you want with the software, don't use the Apache marks (trademarks like the feather or the name Apache) without permission, and provide proper attribution for anything you build based on Apache software. (This only applies if you plan to distribute your package; if you use it strictly on an internal network, this isn't required.) You can't proceed past this screen until you agree to the license terms. Figure 1-2. License agreement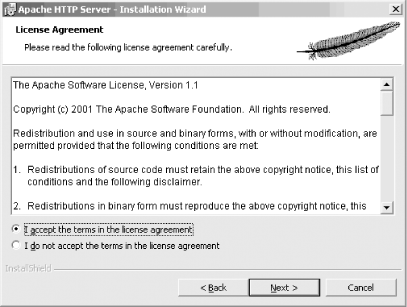 Figure 1-3 shows the recommended reading for all new users of the Apache software. This describes special actions you should take, such as making configuration changes to close security exposures, so read it closely. Figure 1-3. Recommended reading for new users If you are installing Apache for the first time, the installation process asks for some information so it can make an initial configuration for your server (Figure 1-4). If you already have a version of Apache installed, anything you enter on this screen will not override your existing configuration. Figure 1-4. Initial server configuration information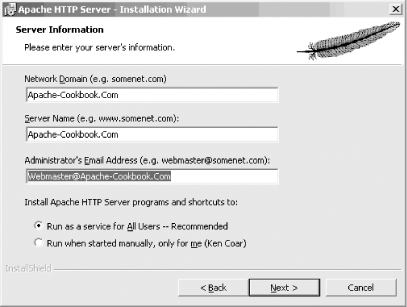 The Server Name in the figure is filled with the same value as the Network Domain field; this is a nod to the growing tendency to omit the "www" prefix of web sites and use the domain name (e.g., http://oreilly.com/ instead of http://www.oreilly.com/). What name you specify for the server is just advisory, allowing the installation process to configure some initial values; you can change them later by editing the configuration file. The important thing is that the Server Name value be resolvable into an IP address. Next comes a screen asking what portions of the package you want to install, as shown in Figure 1-5. Just go with Complete unless you're an advanced user. The Custom option allows you to choose whether to install the Apache documentation. Figure 1-5. Installation type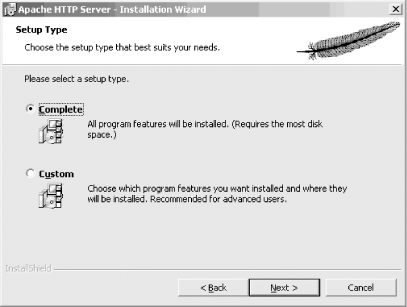 Figure 1-6 asks where you want the software installed. The screen shot shows the default location, which will become the ServerRoot. Figure 1-6. ServerRoot directory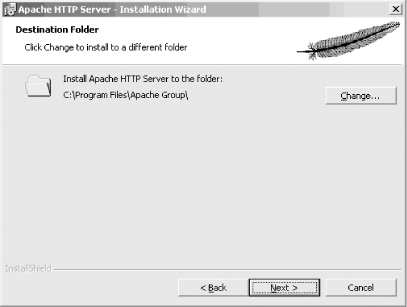 Once you've answered all the questions, a screen similar to Figure 1-7 will come up. This is your last chance to go back and change anything; once you click the Install button on this screen, the installation puts the pieces of the package in place on your system. Figure 1-7. The last chance to change your mind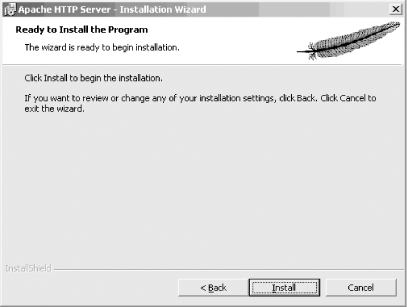 Figure 1-8 and Figure 1-9 show the last screens for the Windows MSI install; they show the progress of the installation. When they're finished, Apache has been installed (and started, if you have chosen the Start as a service option shown in Figure 1-4). Figure 1-8. The installation progress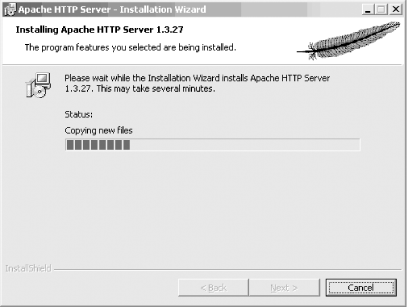 Figure 1-9. MSI installation finished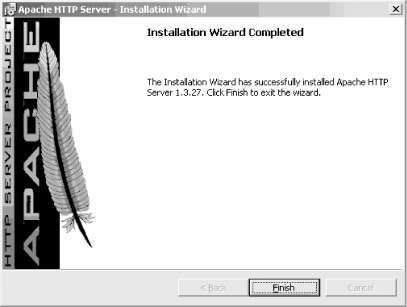 DiscussionA lot of effort has been put into making the Apache server run well on Windows and be managed like other Windows applications. As a consequence, the primary installation method (InstallShield or MSI) should be familiar to Windows users. If you've never run Apache before, accept the defaults the first time you install it. This makes it easier for others to provide assistance if you need help, because the files will be in predictable locations. If you chose to start the Apache server as a service (see Figure 1-4), then you can modify the conditions for it to start, such as the user it should run as or whether it should start automatically, just as you would any other service. Figure 1-10 shows one way to do this; bring up the window by right-clicking on the My Computer icon on the desktop and choose Manage from the pop-up menu. Figure 1-10. Modifying the Apache service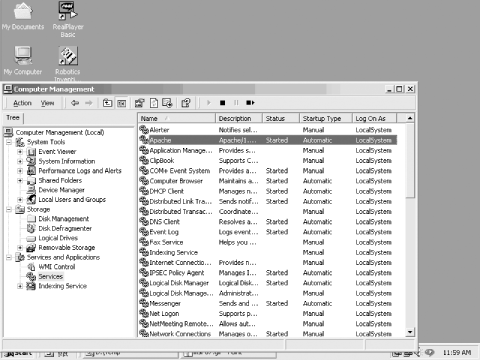 See Also
|
| [ Team LiB ] |
|