|
|
< Day Day Up > |
|
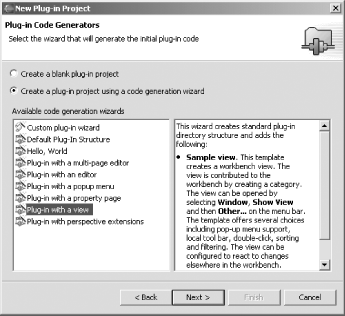
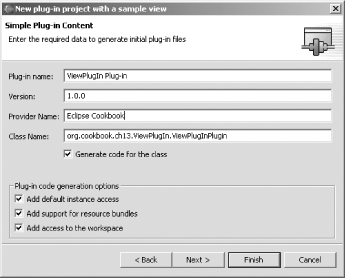
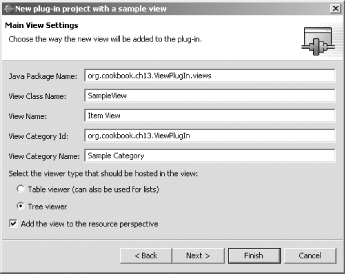
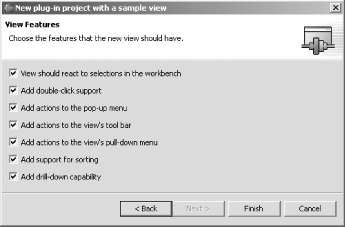
Recipe 13.4 Creating a Plug-in That Supports Views13.4.1 ProblemYou need your plug-in to support a view. 13.4.2 SolutionUse the PDE template "Plug-in with a view." 13.4.3 DiscussionThis next example will build a plug-in that supports a view—in this case, a clickable tree of items. To follow along, create a new plug-in project named org.cookbook.ch13.ViewPlugIn. In the Plug-in Code Generators dialog, shown in Figure 13-9, select "Plug-in with a view" and click Next. Figure 13-9. Configuring a plug-in with a view In the next dialog, set the provider name to Eclipse Cookbook, as shown in Figure 13-10. Figure 13-10. Setting the provider name Clicking Next brings up the Main View Settings dialog shown in Figure 13-11. Here's where you customize the view, setting its name, as well as a whether it should be a tree-based view or a table-based view. Name the view Item View, and make it a tree-based view, as shown in the figure. Click Next again to bring up the final dialog of this wizard. Figure 13-11. Setting view options In the last dialog, you configure the view's actions. Leave the defaults selected, and click Finish to create the template for this plug-in (see Figure 13-12). Figure 13-12. Configuring the view's actions After you click Finish, the template for this plug-in is created, and these files are created and added to the project's src folder: org.cookbook.ch13.ViewPlugIn
|
|_ _ _build.properties Controls the build script
|
|_ _ _plugin.xml Plug-in manifest
|
|_ _ _src Source folder
|
|_ _org.cookbook.ch13.ViewPlugIn
| |_ _ViewPlugInPlugin.java Plug-in's Java file
|
|_ _org.cookbook.ch13.ViewPlugIn.views
|_ _SampleView.java View's codeTo customize this new plug-in by adding items to the view and making them do something, see the next two recipes. 13.4.4 See AlsoRecipe 13.5 on adding items to a view; Recipe 13.6 on configuring the actions in a view; Chapter 12 of Eclipse (O'Reilly). |
|
|
< Day Day Up > |
|