|
|
< Day Day Up > |
|
Recipe 12.3 Creating a Menu-Based Plug-in Using Wizards12.3.1 ProblemYou want to create a plug-in that can add menus and menu items to the Eclipse IDE. 12.3.2 SolutionUse one of the plug-in templates available in the PDE to create a menu-supporting plug-in. 12.3.3 DiscussionWith the Eclipse PDE, it's easy to build and modify your own plug-ins. Here are the types of projects the PDE can create for you:
As an example, we're going to create a new plug-in
in a project named MenuPlugIn that adds both a
menu and a toolbar button to the Eclipse IDE. To create the plug-in
project, select File Figure 12-2. Creating a new plug-in project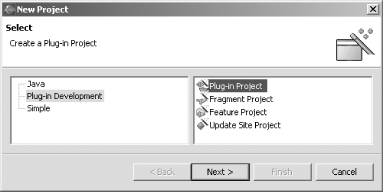 The following pane of the dialog asks for the plug-in's project name. Call it org.cookbook.ch12.MenuPlugIn (this also will be the ID of the plug-in when it comes time to use it in Eclipse), as shown in Figure 12-3. Click Next. Figure 12-3. Creating a name for the plug-in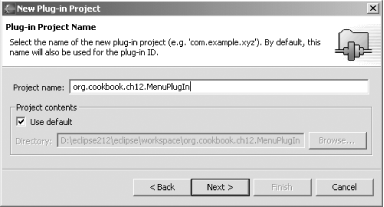 In the following pane, accept the defaults shown in Figure 12-4, and click Next, making this a Java-based project. Figure 12-4. Making the project Java-based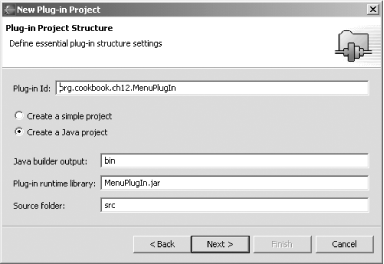 In the next pane, you select the wizard to use to create the project. In this case, click Hello, World in the left box, as shown in Figure 12-5, and click Next. Figure 12-5. Selecting a wizard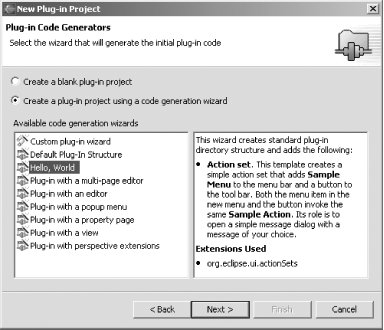 The next pane configures the plug-in. For the provider name we'll enter Eclipse Cookbook; accept the other defaults, as shown in Figure 12-6. Figure 12-6. Configuring a plug-in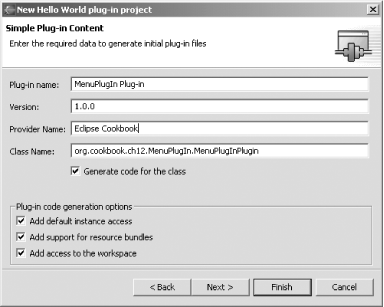 Click Next, and enter the text the plug-in displays when its menu item or toolbar button is selected: This plug-in is functional., as shown in Figure 12-7. Click Finish to generate the code for the plug-in project. Figure 12-7. Setting the plug-in's display text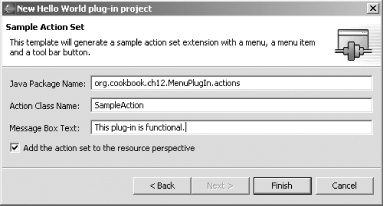 Finally, click Finish to open the PDE, which displays a Welcome page, as shown in Figure 12-8. Figure 12-8. The PDE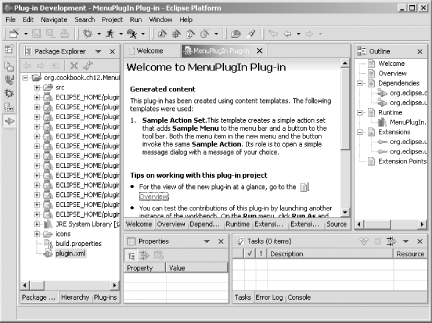 Opening a plug-in's manifest in an editor such as this looks fairly simple, but a lot is going on here. This editor is designed to make it easy to work with manifests without going to the raw XML. Take a look at the tabs at the bottom of the editor. They are as follows:
When we start adding our own functionality to plug-ins, we'll come back to the manifest editor. 12.3.3.1 Eclipse 3.0As you'd expect, the PDE is being expanded in Eclipse 3.0. For example, the PDE's Plug-in Project creation wizard has an option for creating plug-ins with OSGi bundle manifests (recommended only for plug-ins using the capabilities of the new OSGi-based Platform Runtime). And there's a new build configuration editor in the PDE, which means that if you want to use a build.properties file, the PDE gives you a specialized build configuration editor that facilitates the process. 12.3.4 See AlsoRecipe 12.2 on creating plugin.xml; Recipe 12.4 on testing plug-ins with the Run-time Workbench; Chapter 11 of Eclipse (O'Reilly). |
|
|
< Day Day Up > |
|